
Saturday was a productive day for this little family. During the home inspection, we discovered a roof turtle vent that was cracked and duct taped back together. We thought it best to replace the vent entirely. Well, during the week, J was up on the roof removing some old Christmas lights and discovered the turtle vent had sustained a great deal more damage. Essentially, rain and various animals had direct access to the attic. So that was project #1 for Saturday: replace the turtle vent.
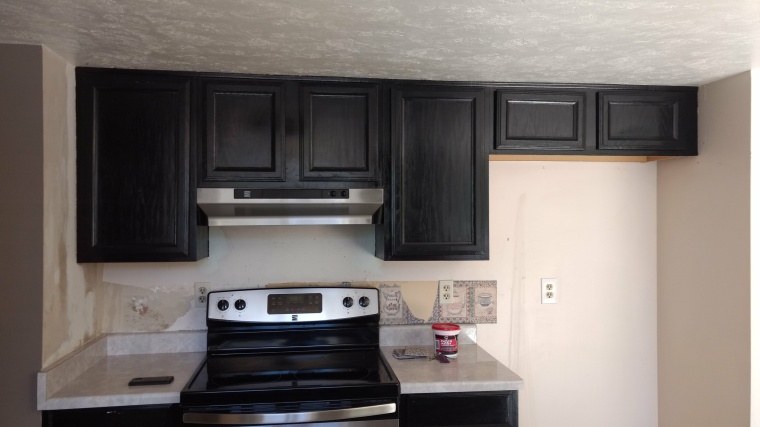
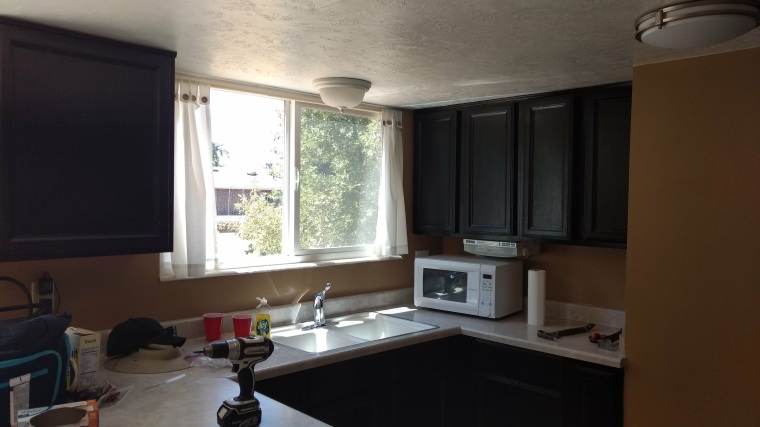
We went back and forth all week debating what project to tackle for the weekend (prep bedrooms for paint, rip out carpet, take out the entryway closet, etc.) and decided to attack the kitchen. The cabinets are a glossy black which does not work for that kitchen. It’s a smaller space so it could really benefit from lighter colored cabinets. The black gloss looks really thick and goopy so we decided to strip the cabinets before sanding and repainting. That was project #2: remove cabinet doors and drawer fronts, get started on stripping.
Turtle Vent
Before: the broken turtle vent
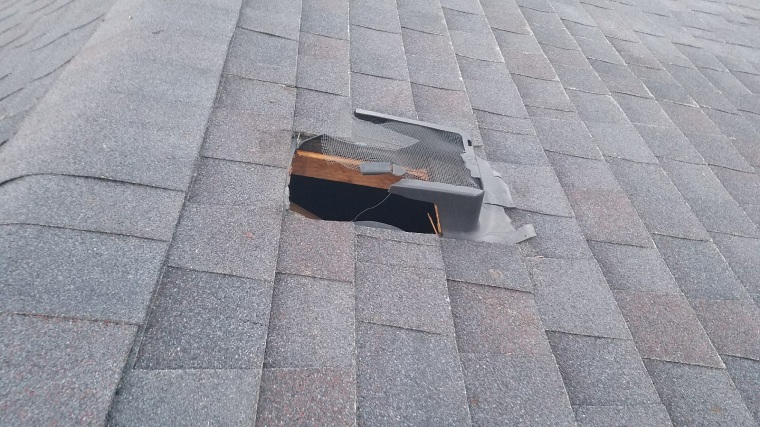
You’re doing a great job, turtle vent! *sarcasm* Luckily, it’s quite simple to replace a turtle vent – and rather cheap too. We spent about $13 on the vent itself and found some tape left in the garage (thanks, Sellers!).
After: new turtle vent
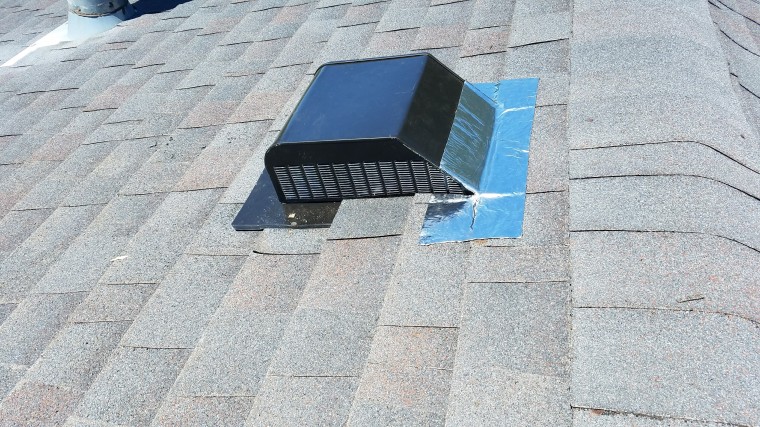
Brand, spanking new! And the fresh tape has a nice sparkle to it. 🙂 No more rain or critters in the attic (let’s just hope no one moved in before we noticed it was destroyed …)
Kitchen Rehab, part 1
We completely recognize that resurfacing the cabinets will be a big task. And we were in no way looking forward to doing that work but decided we might as well just jump in. (I had intentionally started with removing baseboards upstairs as a way to get our feet wet. Me especially since I’ve no experience in home improvements.) Neither of us have experience stripping paint so we weren’t really sure what to buy. Ended up getting some mid-grade gel stripper at Home Depot. $20 for one gallon. Klean-Strip Strip-X
Here’s one final look at the black kitchen. So long black cabinets!
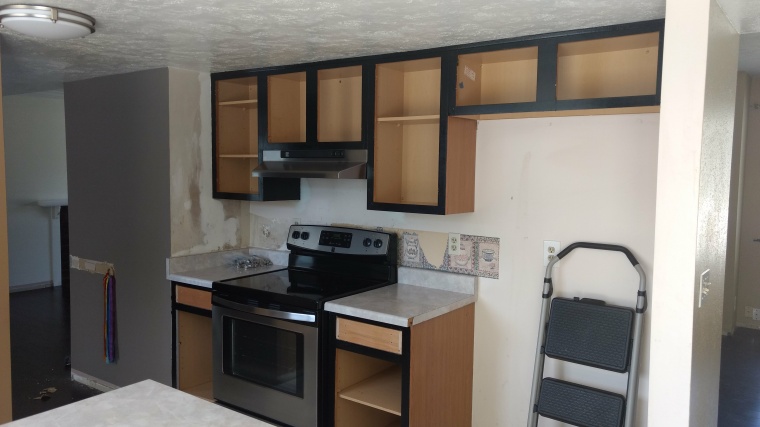
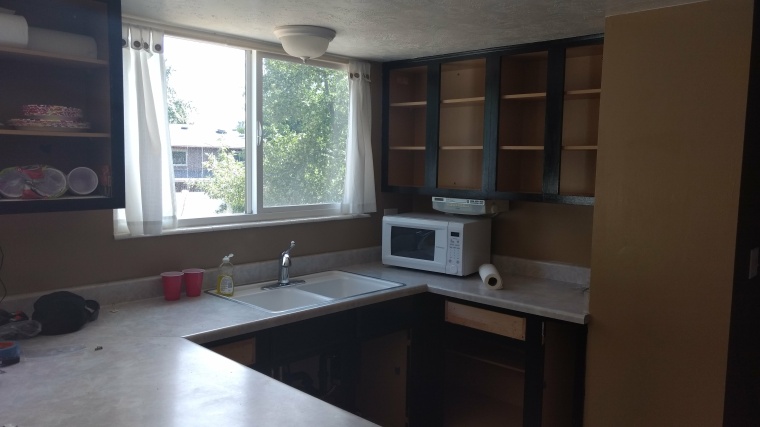
Removing the hardware was easy-peasy. We numbered all the fronts, the cabinets, and the baggies of hardware. Note: sharpie pens are in no way the same as sharpies. We ended up switching to a ball-point pen as the sharpie pen and painters tape didn’t play well (e.g. numbers were smudging). We could tell that some of the hardware was removed before the fronts were painted black, others were not. I guess whomever did the painting got sick of removing the hinges? Also, as we moved from top doors to bottoms the edges were no longer painted. Again, seems whomever did the painting got tired of painting areas no one would see. J insists on “doing it right” so we removed all hardware and will be painting all edges and surfaces.
We’re also going to paint the pantry doors to match. Currently, they are the original light wood but we want to tie them into the kitchen even though they’re over by the half-bath and soon-to-be mudroom.
We made quick work of it. Getting little L to take a nap in her new bedroom and listened to some Radio West podcasts. Also took the time to remove old baby-locks and replaced some broken and missing shelf brackets.
Bye-bye cabinet doors!
The actual work of stripping the paint was no bueno. Since neither of us had experience, we put the first layer on a little light. And by we, it was really just me. We had only one paint brush so J watched L while I got to work. The fumes weren’t really that strong and it was easy enough to paint on.
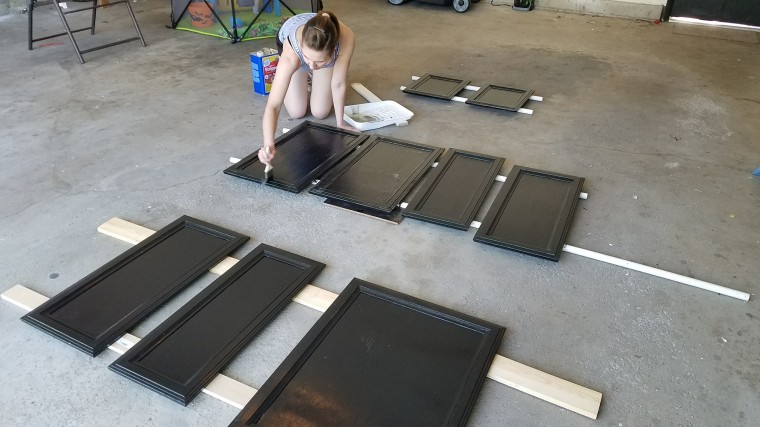
We found some old boards and PVC pipes left in the garage and used those to prop up the fronts so they weren’t resting right on the garage floor. (P.S. It’s so nice to have a garage to do these projects!)
We removed the shutters while we waited for the stripper to work it’s magic. With the shutters gone the house is a little boring so we’ve decided to paint them and put back up. Sorry, no pictures of the house sans shutters at this time. But I’m sure they’ll be a full before & after post once we re-install them.
The first layer of stripper worked but not as well as either of us expected. Probably due to how thin I applied it. We scraped and scraped. The paint and varnish came off in gloopy glops that looked like tar. I began applying stripper at 2pm and we ended scraping at 4pm. Ugh! We were both covered in black paint and had some burning sensations from the stripper. No time to dwell though, a second application was definitely needed. J started the second application right at 4pm while L and I enjoyed a snack (again, only the 1 paint brush).
The second application went on much thicker and you could see it getting to work. We waited only 25 minutes to start scraping off and it went so much better! Now we know: apply generously.
A new neighbor stopped by to introduce himself while we worked! That’s two we’ve met now. Seems like a great neighborhood. 🙂
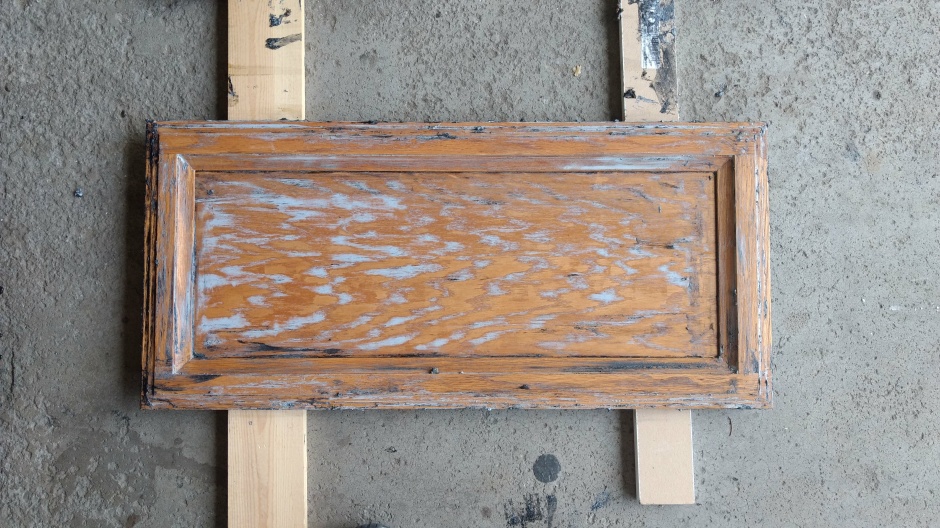
The second time round not only worked better but went faster. Here is the finished product at 5pm.
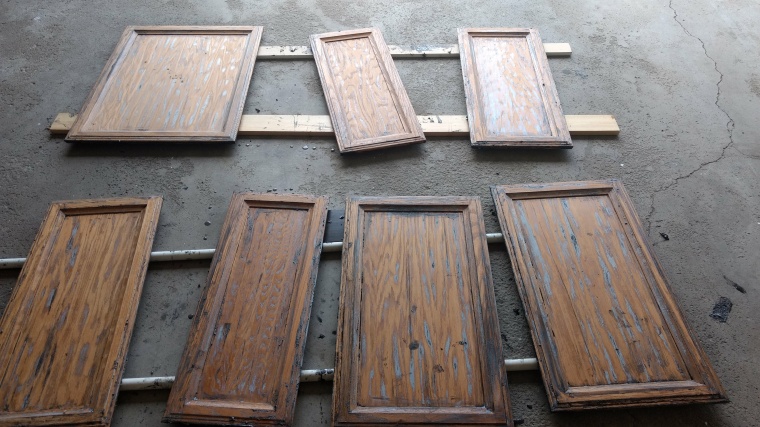

Look at the gorgeous wood! And you can really see the details of the fronts now. They’ll need a little sanding and some touching up but soon they’ll be ready to prim and paint a lighter color. (We’ve decided against keeping as wood because that would take even more work and we like the look of painted cabinets anyway.)
Unfortunately, this round was only the front side of the upper cabinets. We still have to flip them over to strip the backs. Then front and back of the lower cabinets. Then the actual cabinets themselves in the kitchen. Bleh. It’s a long list but we’ll get there! And we know what we’re doing now so hopefully it goes quicker 🙂

I love your blog….keep the info and pics coming.😀
LikeLike
Thanks! It’s fun to report back what we’ve been up to.
LikeLike